Aquí paso a paso como hacer este lazo.. parece un regalo no...
Herewith a step to step Tutorial on how to make this bow.. it looks like a little present doesn´t it...
..El primer paso sería enrollar su fondant y úselo para cubrir su cupcake (del color de su preferencia). Usé blanco porque me gusta mucho el contraste entre los colores.
..The first step is to roll out your fondant and use it to cover your (colour of your choice). I used white fondant because I like the striking contrast of the red bow.
El siguiente paso sería cortar las tiras para hacer con sus cintas. Como dije antes, puede usar cualquier color de fondant que le guste..
The next step would be to cut strips out of your fondant with your pizza cutter to make your ribbon-band. Like I said before you can use any colour fondant that you like..
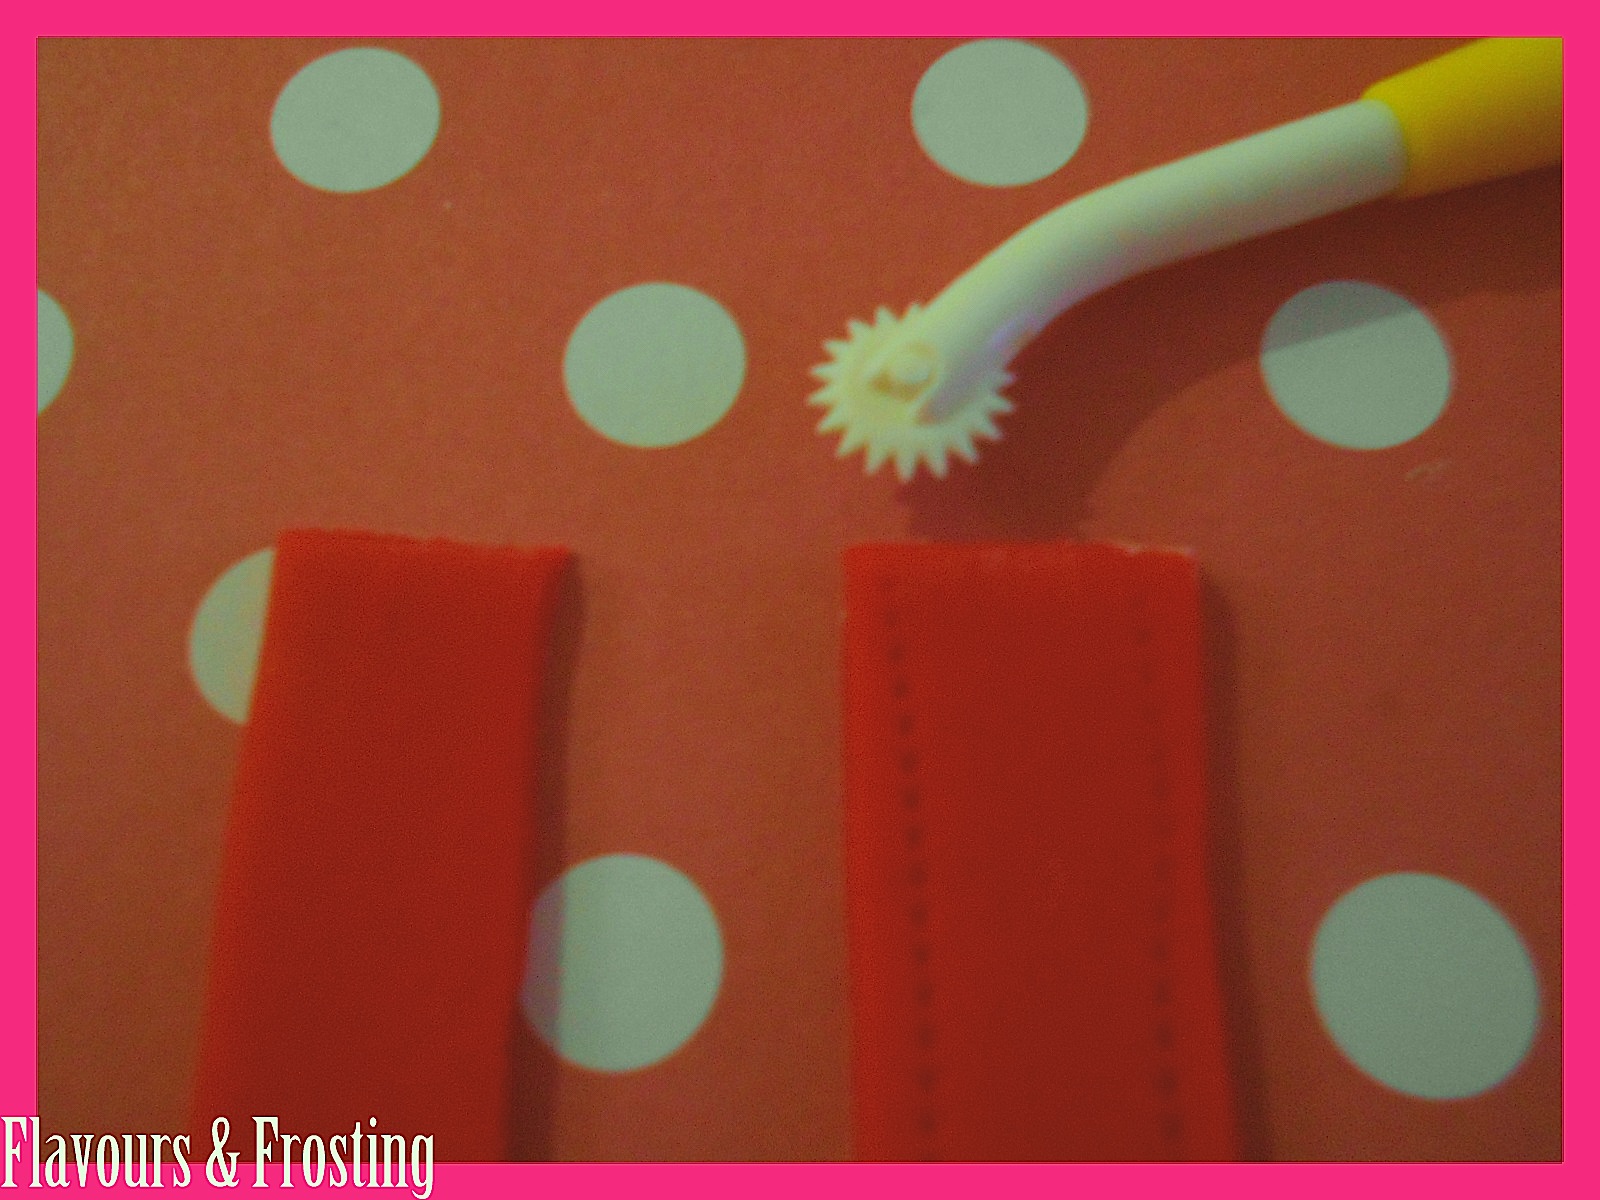
Después puede hacer los puntos con su herramienta de puntos. En la foto de aquí arriba puede ver una cinta en la derecha con puntos y en la isquierda sin puntos.. yo prefiero con puntos..
Thereafter you can do stitching with your stiching tool. In the photo above you can see on the right a band with stitching and on the left without.. I prefer with the stitching..
Ahora necesita aplicar un poquito de agua en la parte de atrás para asegurar que se pege en su cupcake.
Now you need to put a little water on the back of the fondant to make sure that it sticks to your cupcake.
Ahora es la hora para hacer el lazo..
Time to make the bow..
Corte el lazo lo mismo ancho de su cinta (banda). La longitud depende en que tamaño que quiere para su lazo. En este Tutorial hice una cinta corto porque me quería añadir ´non pareils´ de Fun Cakes y no quería que el lazo fuese tan grande. Por su caso no añadí los ´non pareils´ tendría hacer el lazo más largo. Usé el herramienta de puntos para mi lazo también después en la foto de aquí arriba puede ver que giré los lados hacia dentro.
Cut a bow the same width as your ribbond band. The length depends on how long you want your bow to be. In this Tutorial I made a short bow as I wanted to add some ´non pareils´ from Fun Cakes and didn´t want the bow to overshadow the design. If I didn´t add the ´nón pareils´ I would have made my bow longer.. I used the stitching tool on my bow too then in the photo above you can see how I turned both sides inwards.
Ahora gire el lazo y añada una trozo sobrante en la parte del medio con un poquito de agua (con o sin puntos). Después en la parte de atrás de lazo completado, puede añadir un poquito más the agua y pegar en el centro donde las cintas forman una cruz.
Now turn the bow around and add a remaining piece of ribbon band (with or without stitching) to your bow with a little water. After that you can add a little more water on the back of the completed bow in the centre of the two ribbon bands where it forms a cross.
Ahora es tiempo para poner nuestros non pareils. Creo que con ellos tiene una buena
pinta ;-D
Now it´s time to add our ´non pareils´. I think it finishes off the cupcake very well ;-D
¿Que les parece? What do you think?
Me gustaría oir de ustedes, no sean tímidos por lo tanto dejen sus comentarios en nuestra página principal en la parte inferior de la foto con este mismo lazo.
I would love to hear from you so dont be shy.. please leave your comments on our main page at the bottom part of the article/photo associated with this Tutorial.
Labels: Lazo de fondant